Cases
Selecting Cases in the top navigation takes you to the Case Management page, allowing you to manage any existing cases/tickets or create a new case.
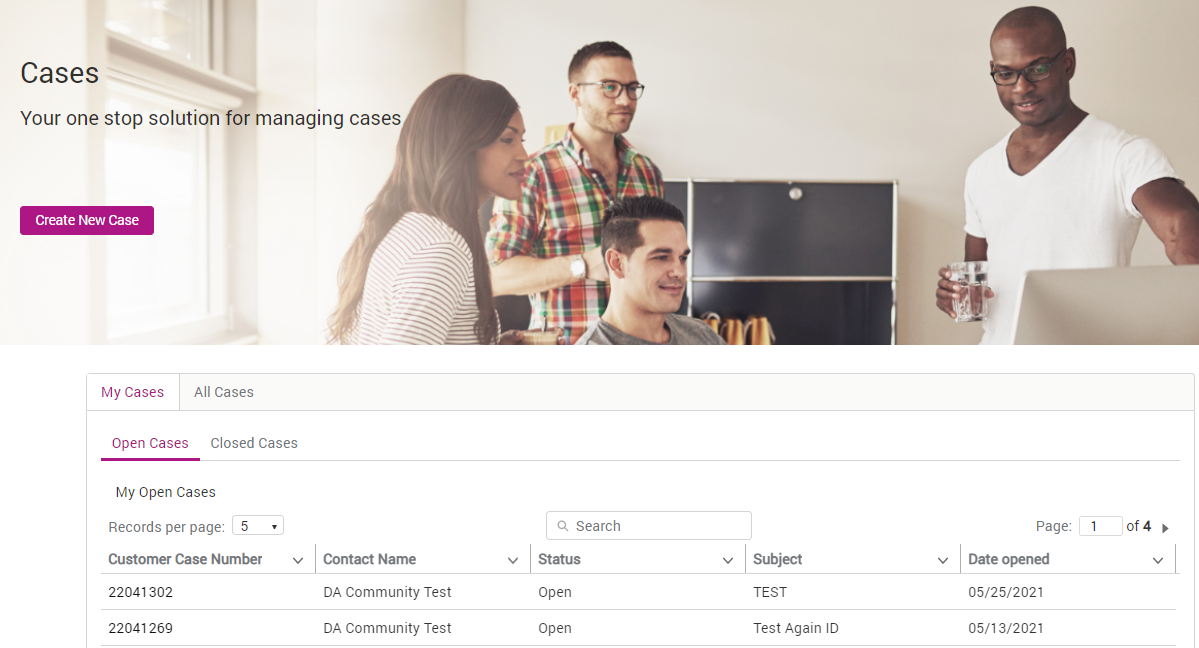
Create New Case
The Create New Case button allows you to create a new ticket to raise new requests or issues.
To Create a New Case
- Click Create New Case.
-
Complete the fields as shown below. Mandatory fields are indicated with a red asterisk (
 ). You can upload one file
(for example, a screenshot or an error log file) before submitting and additional files can be added after you have submitted the case.
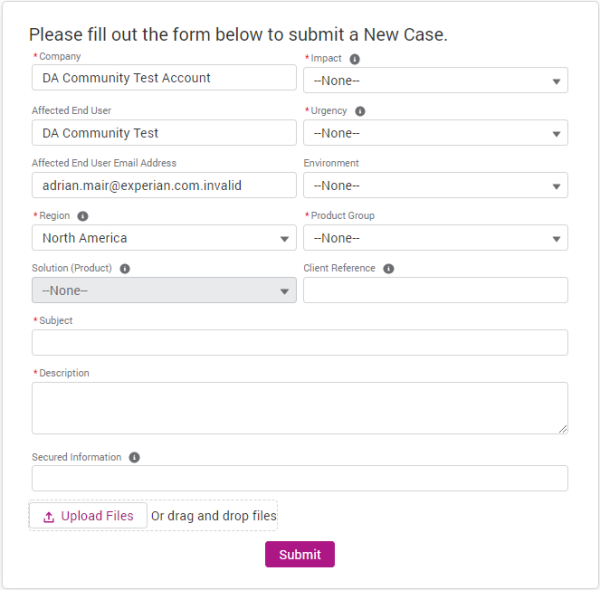
Field Description Company (Mandatory) Enter your company account name. Impact (Mandatory) A measure of the effect or potential effect and incident, problem or change is having on your business. The options are none, high, medium or low. Affected End User Enter the user affected by this incident, problem or change. Urgency (Mandatory) Select the urgency from the drop down list. This is a measure of how long it will be until the incident, problem or change has a significant impact on your business. Affected End User Email Address Enter the email address of the affected end user. Environment Select the relevant environment from the drop down list. Region Enter the Region for the User you are entering the Case for. Product Group Enter the product group. The options are None, Fraud & ID Products, NA Decisioning Products. Solution (Product) The service or product you are raising a case about. Client Reference Enter your internal reference for this case. This is useful if you have a reference number in your internal systems that you would like to add to this ticket. Subject (Mandatory) Enter the subject of your case. As you enter content into the Subject field, the Need Answers Fast section (on the right) will populate with knowledge base articles that are relevant to the text entered. These articles are intended to help you self-serve on commonly raised queries and issues. Selecting one of these articles allows you to browse the article content without closing your open ticket. If the article has answered your question you can then close the article and close the open ticket without raising a new case. Description (Mandatory) Enter a description for your request or issue. Be as descriptive as possible. Secured Information Enter any information or data that is sensitive, private, personal, copyrighted or customer confidential. This information will be masked for other users in your organisation. Upload Files Select this option to upload a file or files.
Alternatively, a file can be added by dragging and dropping on the area indicated.
-
If there are no relevant knowledge base articles in the Need Answers Fast section on the right, click Submit to create your case/request. This will raise the request to the Experian team and provide you with a Customer Case Number. Whenever this ticket is updated, you will receive an email and a notification will appear in your Notifications (
 ) area.
| You can clone an existing ticket by selecting it on the list on the ‘Cases’ page. This is helpful if you are creating a similar request or issue to one previously raised. |
Access existing Cases
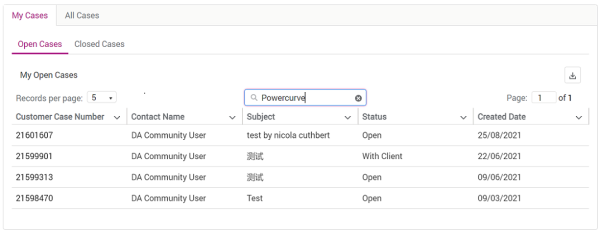
Any existing tickets are displayed in the My Cases table at the bottom of the Cases page.
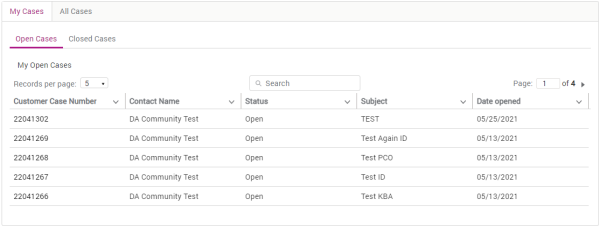
In the My Cases table you will be able to access all of the cases you have raised. If you have additional privileges you will see an additional All Cases tab, this will allow you to see all cases logged against your organisation. In both tabs you can select Open Cases and Closed Cases.
Case Table Features
The My Cases table includes the following features to improve your user experience, which is useful if you have a large number of cases:
- Records per page drop down - allows you to select the maximum number of records to display on a single page. The options are: 5, 10, 25, 50 or 100.
- Column ordering - clicking the header of any column will order the cases alphanumerically based on the column selected.
- Clip or wrap text - each column in the table has a drop down option (
 ) allowing you to clip or wrap the text in that column, for better readability.
 - Pagination - the Page option allows you to navigate to additional pages, if all of your records are not displayed on a single page.
-
Export – allows you to export a csv file of the case table.
- Search - the search box allows you to filter the case list by case number, requestor, key words or product name.
Viewing and Updating a Case
Select an existing case from your case list.
Clone a case
Cloning an existing case can be useful if you are creating a similar request or issue to one previously raised.
In the Case Details page, click Clone in the top right-hand corner.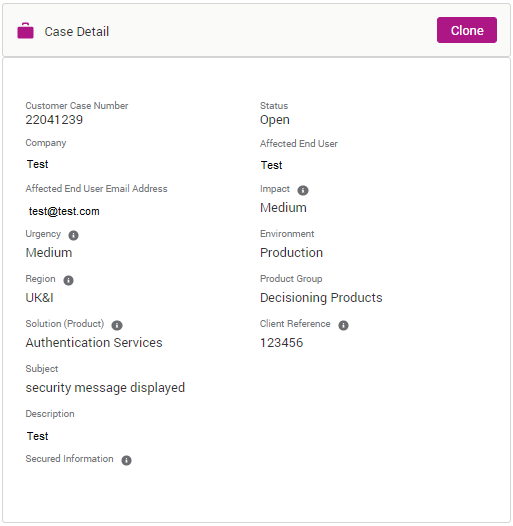
View or Add Attachments
You can attach additional files or view any files shared by the Experian Service Desk Agent.

Add Case Collaborators
If you wish for other contacts from your organisation to collaborate on the ticket, you can search and add them. They will receive updates on the case.

View & Add Comments
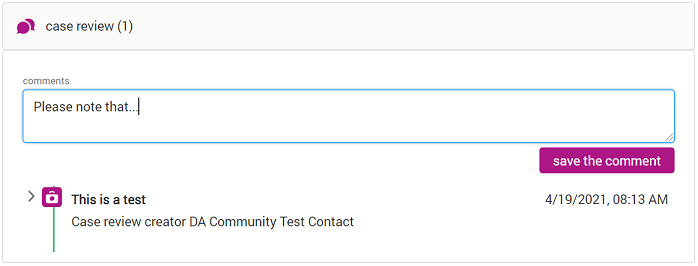
You can view any updates and comments which have been added to the Case and you can add additional comments. You will also receive an email update when comments are added to the Case.
